Shadow gap skirting, floors and doors in Clogherhead
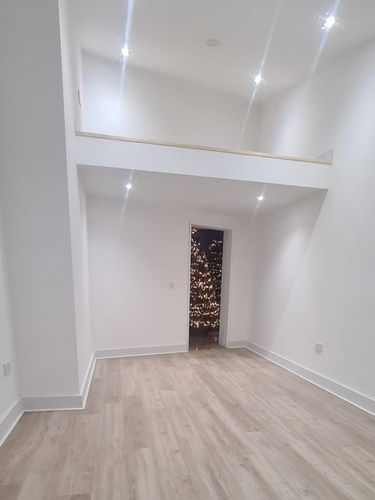
This customer in Clogherhead, Co. Louth, was building his own house and needed a carpenter to do the carpentry interior work. We installed shadow gap skirting in the hallways, kitchen and living room. We also laid 3 laminate floors in the bedrooms, fitted pencil round skirting in the rest of the house and architraves in the bathrooms. We hung 13 doors plus ironmongery and built a custom-made trap door to match the doors throughout the house.
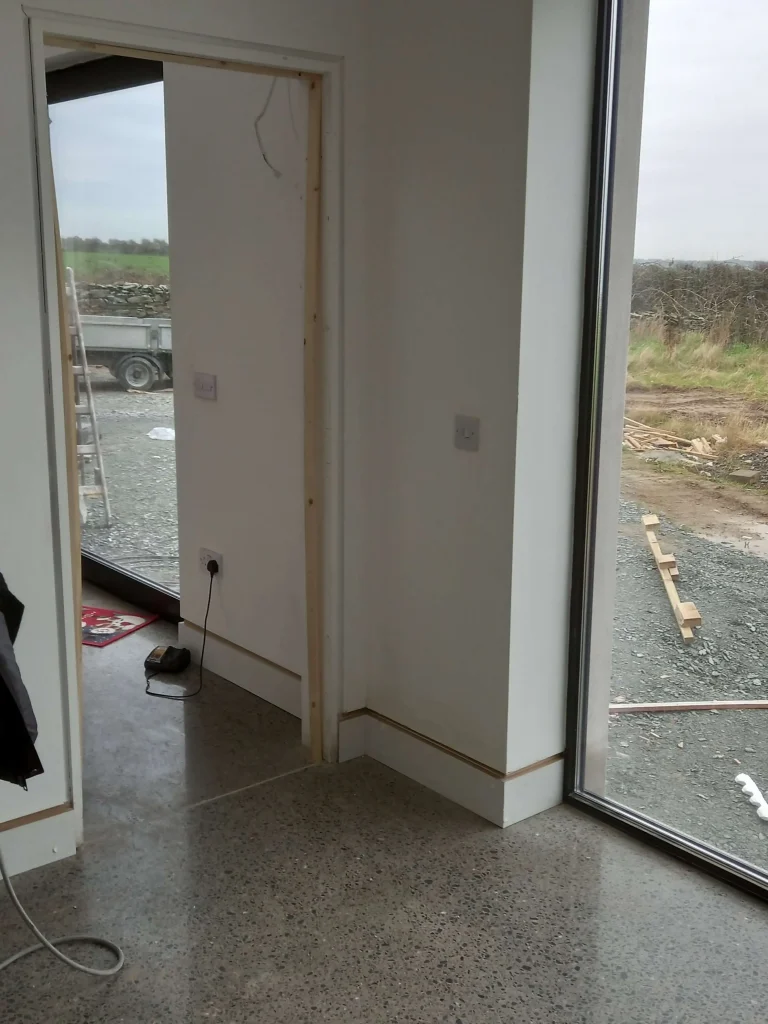
Shadow gap is a continuous line on top of your skirting that goes up and over the top of the frame and then goes back down and over the skirting throughout the house. A bead runs along 10 to 15 mm above the skirting board and comes up all around the frame, creating a shadow gap. When using shadow gap you have the option of not using a skirting board at all or having skirting boards that sit flush with the wall, depending on the distance from the bead to the ground. There's no architrave on the door frames and the skirting board (when present) doesn't sit on top of the plasterboard, instead, it sits vertically in line with it. The shadow gap can go up the stringer of the stairs and also between the top of the wall and your ceiling.
In this case, installing the skirting board required filling up the space behind the skirting board so it could sit flush with the wall. The depth of gap behind the walls varied according to the different thicknesses of the walls, whether they had insulation or not and how thick the insulation was.
The attic door in this bungalow is located high on the wall of the kitchen which is the tallest room in the house. The customer required the door to sit flush on the wall, so we made a frame out of a planed 3x1 timber so we could use butt hinges. Then we cut, sanded and chamfered the 18 mm MDF and planted it on top of the frame. A v-grooved pattern was routed into the MDF before it was painted to make the trap door match the doors throughout the house. There's no handle or lock on this door, instead, there's a push to open door latch.
In the rooms where the customers wanted wooden floors, the skirting was put down first. Then we placed a special underlay (due to the underground heating), the laminated floors and then the beading. The skirting was put down first in case they want to change the wooden floors for carpets in the future (they wouldn't need new skirting, they would only need to pull out the beading and the floors and put down the carpet).
In the rooms where architraves were needed, we used the leftover skirting to make the architraves by ripping up 150 mm skirting to 70 mm then sanded and chamfered the rough edges, mitred them and fixed them to the wall.
One tricky thing about this project was that the concrete floor was off level in the rooms where there would be shadow gap. So, in order to keep a 20 mm consistent gap between the top of the skirting and the bottom of the plasterboard, I raised the skirting board with chisels until the top of the skirting was tight against the bottom of the plasterboard. I then cut a 20 mm piece of timber and sat it on the ground with my pencil on top of it and ran it down the full length of skirting. Now that I had my line I cut it with the table saw and was left with a 20mm consistent shadow gap.


